|
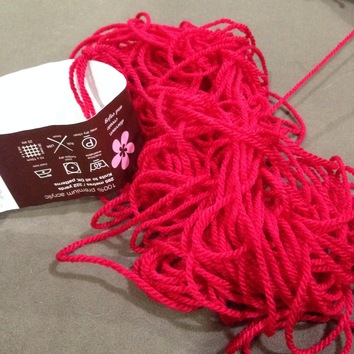
No one likes it when this happens. It's no fun having to stop and untangle as you go. Sometimes I have to pause in the middle of a row and by the time I have enough yarn untangled and get back to the row, I'm lost LOL.
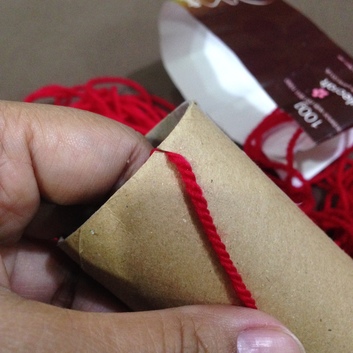
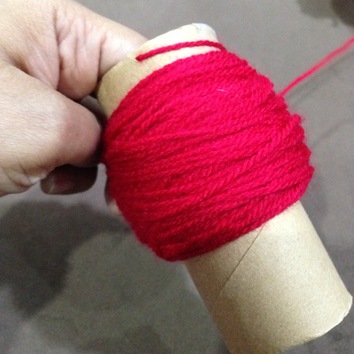
TP rolls are great for keeping leftover yarn or keeping the last few meters of your working yarn untangled. Start by untangling as much as you can. It's annoying and time-consuming but at least you will only have to do it once. After this, you can get on with your project and your yarn should come off the roll with no tangles. When you have enough yarn to start winding, nick a bit at the top of the roll to lock the end in.
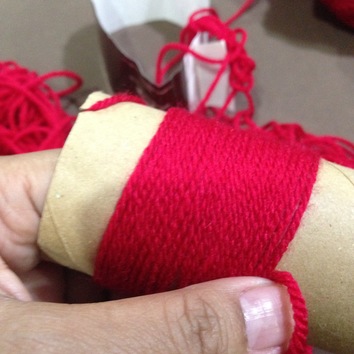
and start winding the yarn diagonally around the roll. Wind the next layer of yarn diagonally in the opposite direction. Try not to wind too tightly.
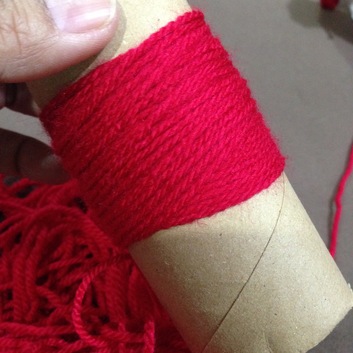
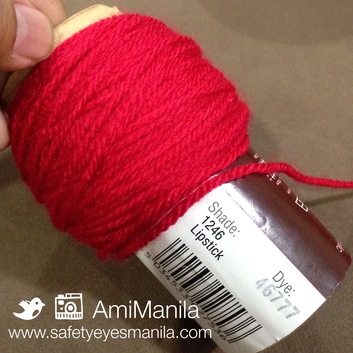
Keep going while alternating directions. I like to wind the yarn around the upper part of the roll so that I can wrap the label around the bottom part in case I don't use up all the yarn.
0 Comments
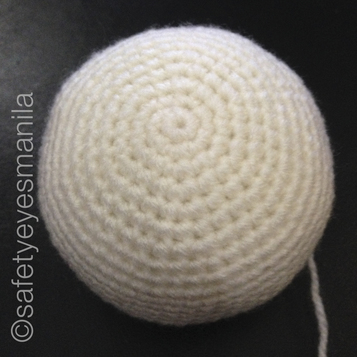
Ever wonder why your ami puppy or snowman ends up with a swirl on its head?
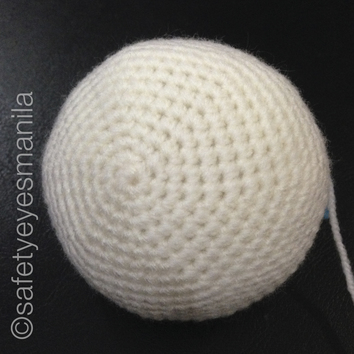
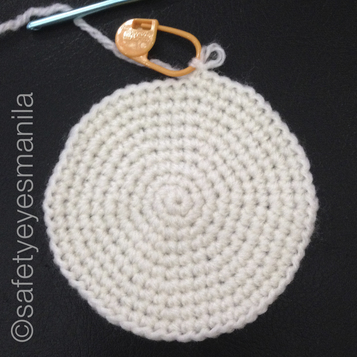
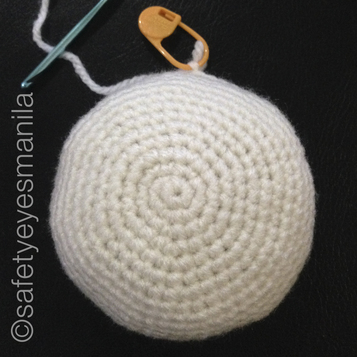
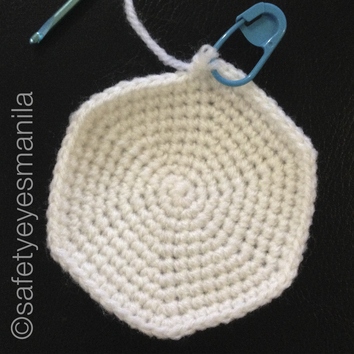
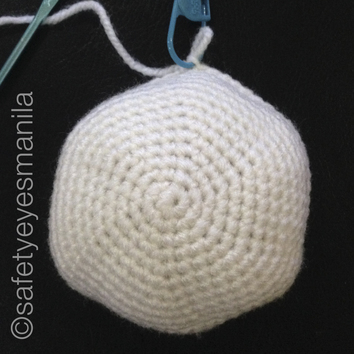
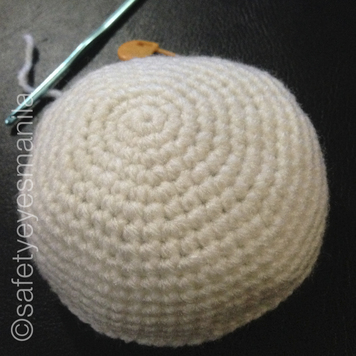
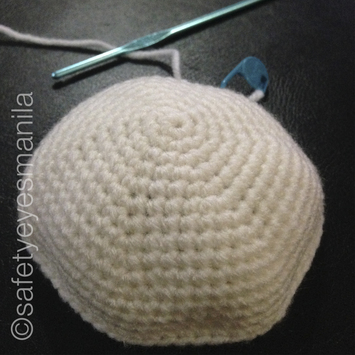
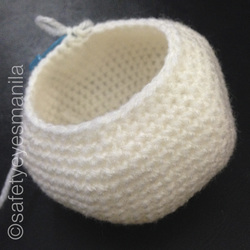
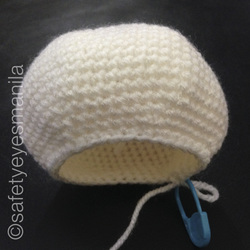
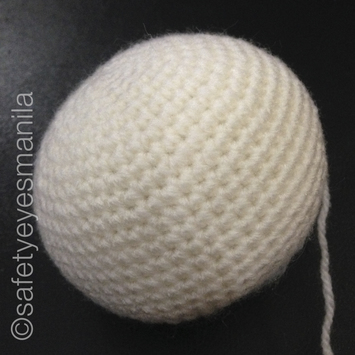
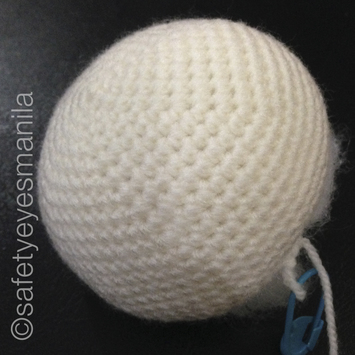
I'm not sure what it's called but I can only describe it as a "pinwheel effect". This happens when crocheting in increasing rounds because each of the stitch increases land only 1 stitch away from the increases of the round before. Since I'm not very fond of this effect, and I think it looks funny on ami heads, I found a way to spread the increases out so they don't land too close to each other. Below is a typical Amigurumi pattern. On the left, marked with the orange stitch marker, is the result of the increases spread out, and on the right with the blue stitch marker is the result of following a typical pattern. Instead of increasing the number of sc by 1 for every row and following each set of sc with an increase, I took all the rows with an even number of sc before an inc, and split the first set of sc and put the rest in before the end of the round. I know, I'm confused too. So I've marked those rows in red.
Even if it evens out as you sc 1 all around, you can still see the pinwheel at the top.
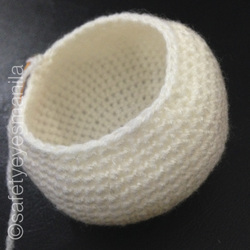
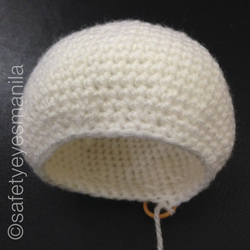
I apply the same technique when I decrease.
After stuffing, everything stretches of course and the corners round out a bit but again, the effect can still be seen. Maybe it's not always noticeable but I very much prefer the effect on the left :)
HEAD, BODY & GOGGLES
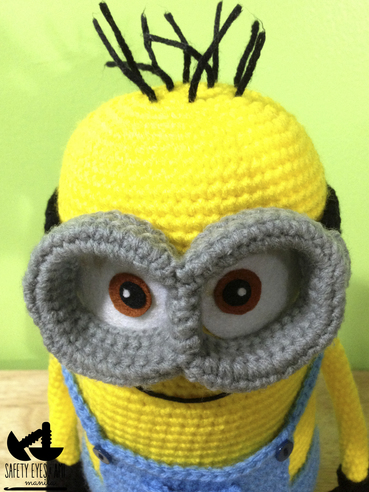
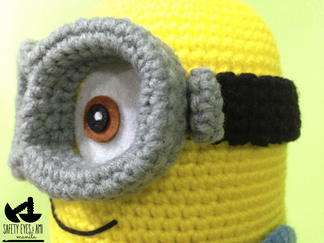
I followed Stephanie's pattern from R1 to R9 to increase to 63 st. Because I wanted a shorter Minion, I sc'd around only 'til row 50 and started to decrease from there. You can keep crocheting 'til you reach your desired height knowing it takes 7 rows to decrease and close. Don't forget to put the hair in before you stuff and close.
BOOTS & LEGS
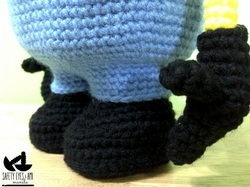
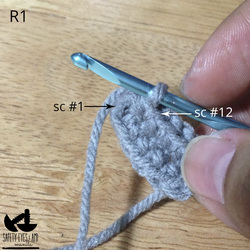
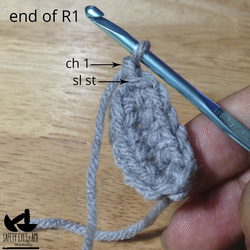
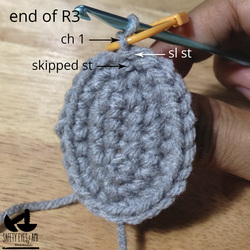
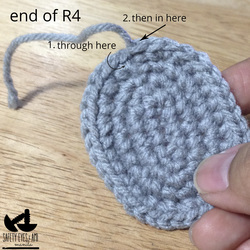
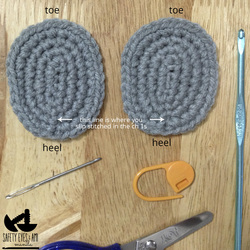
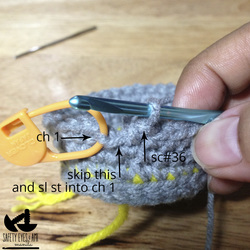
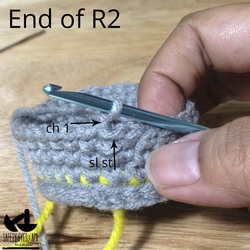
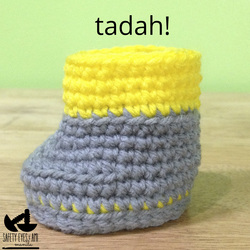
To make sure my Minion could stand on his own, I made his boots like baby booties with a double sole. I also changed color from black to yellow instead of blue to go from boots to "Minion skin". Just for the purposes of this tutorial, I used grey for the boots instead of black just so the stitches may be easily seen. But Minion's shoes are made in black. SOLES (make 4) I sl st (slip stitch) into the ch1 from R2-4. Watch your tension. If your stitches are too tight, your soles won't stay flat and may start to curl in. Ch 6 R1 (start in 2nd ch fr hook) inc, sc 3, make 3 sc in the last chain, (working on the other side of chain now) sc 4. (12) sl st into 1st sc, ch 1 and mark the ch 1 R2 [sc 1, inc ] 6x (18) sl st into the ch 1 of the previous row and ch 1 R3 [inc, sc 2] 6x (24) skip the last (extra) stitch, sl st into ch 1 of the previous row and ch 1 R4 inc 4, sc 5, inc 4, sc 1, inc 3, sc 6, inc (36) skip the last (extra) stitch, sl st into ch 1 of the previous row and ch 1
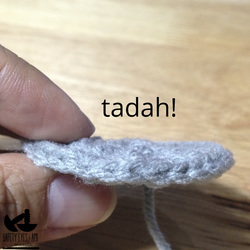
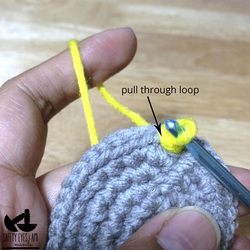
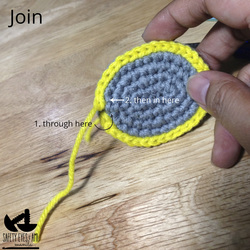
To finish and close, cut yarn leaving a tail about 1.5" and pull through loop. Thread the tail under both loops of the 2nd stitch from your last sc. Close the loop by threading back through the center of the previous sc. You won't notice where you started and where you ended! And even if it ends up a bit messy, you won't notice when you use black yarn. Just make sure you have a total of 36 stitches. If you're making a smaller and skinnier Minion, you can stop at R3 with 24 st to make smaller boots.
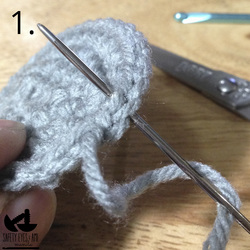
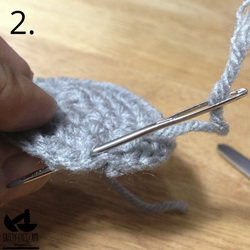
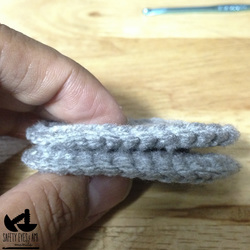
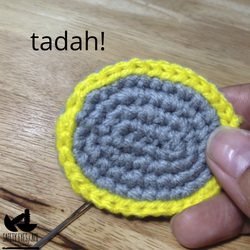
Take 2 soles. Don't worry if they're not exactly the same size. The stitches will eventually line up. Put them together with the heels toward you and the right sides facing out. You can hide all the extra hanging tails in between. For the purposes of this tutorial, I used yellow yarn to stitch the 2 soles together so the chains can be easily seen.
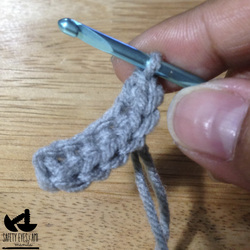
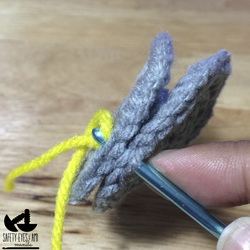
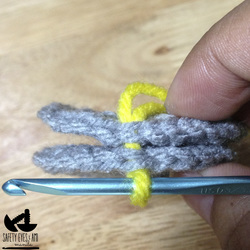
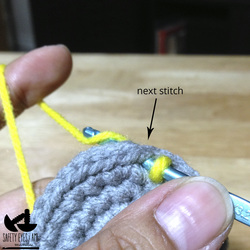
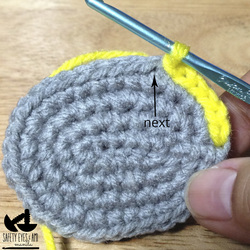
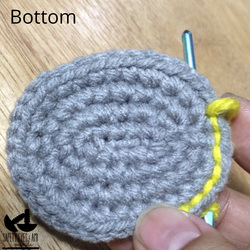
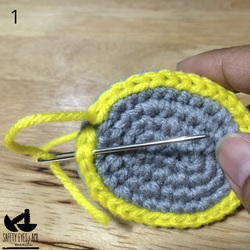
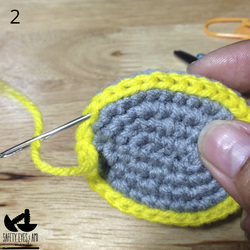
First, take the center of the heels and pull your yarn under all 4 loops - that's 2 from each sole. You'll have 1 loop on your hook. Then, insert your hook under the next set of loops, pick up the yarn and pull through the loop to make your 1st stitch. Insert your hook under the next set of loops making sure you get under all 4 loops, pick up the yarn and pull through. Keep doing this going around the sole. The stitches facing you should look like chains. The side facing away from you will be the bottom of the boots and they'll have running stitches.
You can tuck the tail in before you end this row. You'll finish and close this row much like you did with the soles. You should have 36 chains total. Again, don't worry too much if it gets messy in the end as long as you have 36 chains.
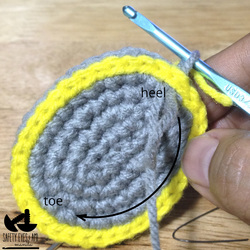
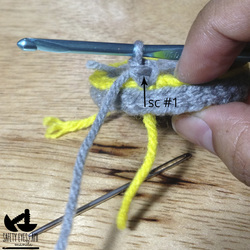
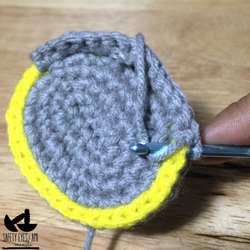
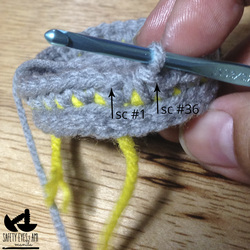
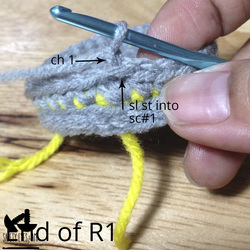
Let's go back to grey yarn to make the rest of the boot. Again, starting at the center of the heel, insert your hook under the 2 loops of the chain, pick up the grey yarn and pull through the chain. You'll have 1 loop on your hook. Yarn over, pull through the loop, insert your hook into the same (center) chain, yarn over, pull though. You'll have 2 loops on your hook. Yarn over and pull through 2 loops to make your 1st sc. Then sc all around. This is R1. End with a sl st into sc #1. Ch 1. Mark the ch1.
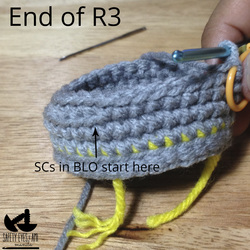
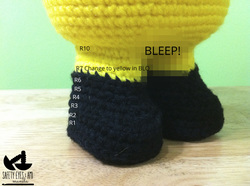
R2 sc around (36) skip last st, sl st into ch1 of previous round and ch1.R3 sc 8, [sc 6, dec 4x, sc 6] in BLO (back loop only), sc 8 (32) skip last st, sl st into ch1 of previous round. Ch1.
R4 dec, sc 12, dec 2x, sc12, dec (28) skip last st, sl st into ch1 of previous round. Ch1. R5 sc 10, dec 4x, sc 10 (24) skip last st, sl st into ch1 of previous round. Ch1.
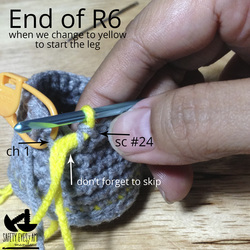
R6 sc around (24) change to yellow before your last yarn over so you pull through with yellow yarn. skip last st, sl st into ch1 of previous round. Ch1.
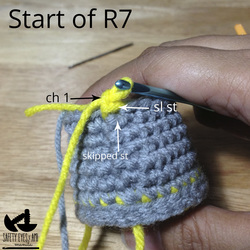
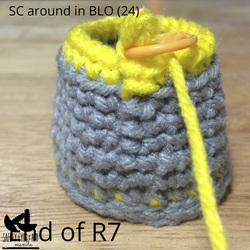
R7 sc around in BLO (24) skip last st, sl st into ch1 of previous round. Ch1. R8 - 10 sc around (24) skip last st, sl st into ch1 of previous round. Ch1.
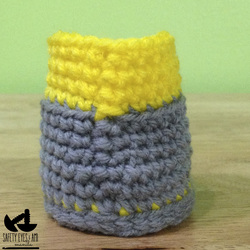
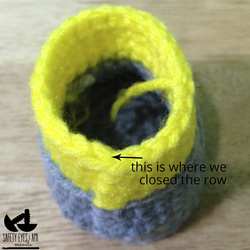
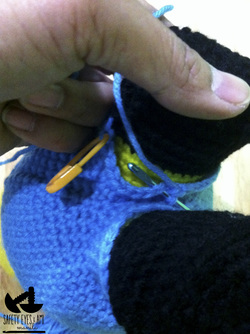
In the end you should have a fairly even color change. You can always cover any mess with the trouser legs later on :) Finish and close R10 like you did with the soles. Go ahead and make your 2nd boot. Try to keep the same amount of tension so your boots and legs end up about the same size. Sew the boots and legs to the body. I like to use stitches that go straight down and diagonally to make them look like crochet stitches.
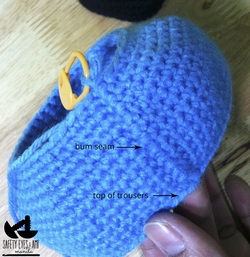
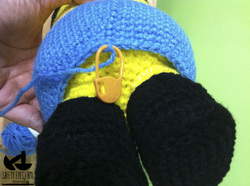
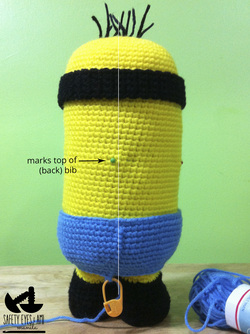
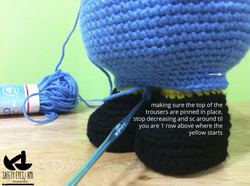
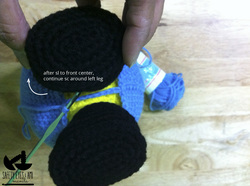
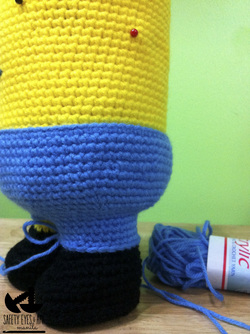
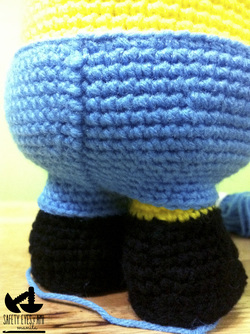
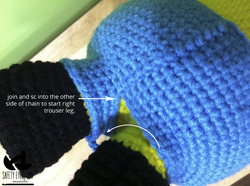
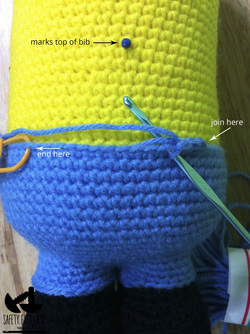
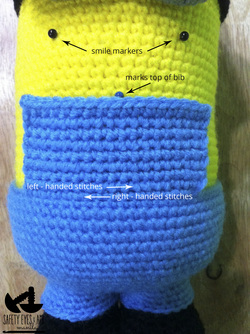
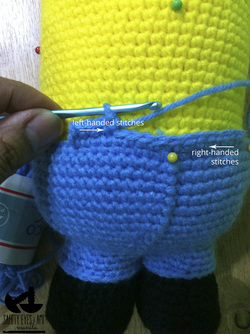
Sc continuously around the left leg until you reach the desired trouser length. You'll need to sc on one side of the chain making sure you leave the other side of the chain for the right trouser leg. Count your stitches at the end of the first round and try to make the same for the right leg. Mine didn't come out even. I think the right leg had a couple more stitches but in the end it really isn't very noticeable. Finish and close as usual.
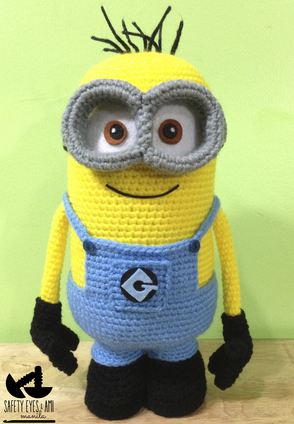
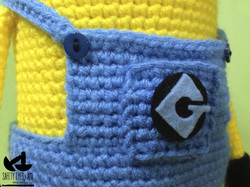
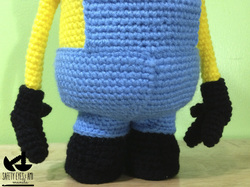
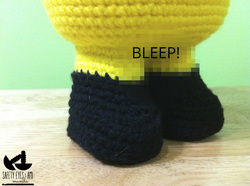
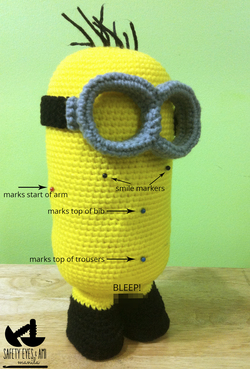
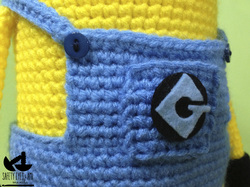
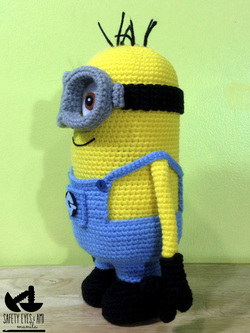
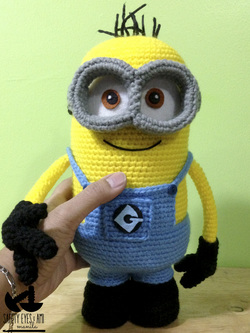
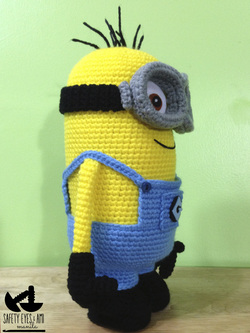
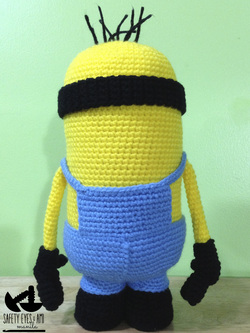
So here is my finished Minion! Because of his double sole boots and big feet, he can easily stand on his own. If you lift the hem of his trousers, you can see his yellow legs (tee hee hee). Unfortunately because of how the overalls are made, they will never come off like Stephanie's unless you make his trouser legs loose enough for his feet to pass through or make his feet smaller.
I hope you've found my instructions and photos helpful. You are free to share them but please, link back to this blog should you wish to share any of my photos or instructions. Again, I'd like to thank Stephanie of AllAboutAmi for sharing her pattern and inspiring me to experiment and share :)
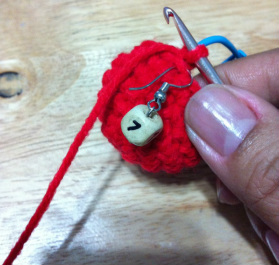
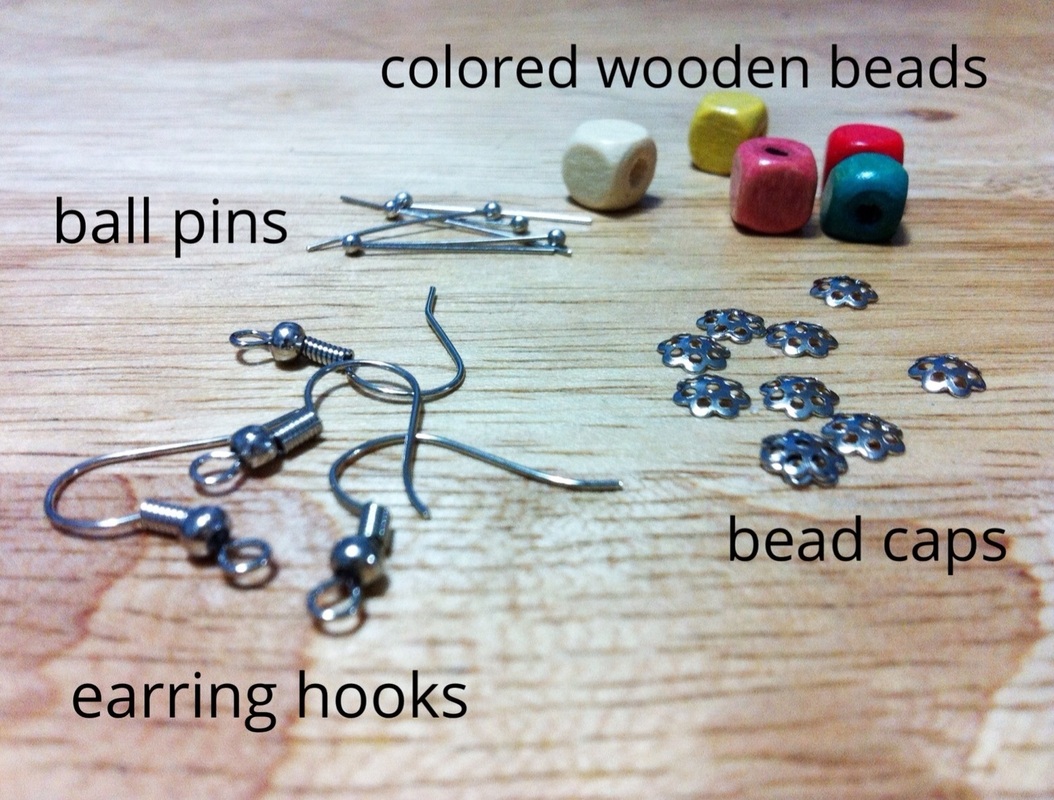
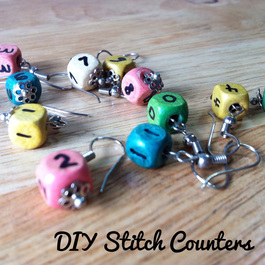
I used earring hooks because they were easy to attach to stitches. I put a ball pin through the square bead, stopped it with a bead cap, put the pin through the earring hook loop and then bent the pin back into the square bead with a pair of pliers. Finally, with a marker I wrote numbers on the wooden square beads. Share this!
|
|
Follow me! or E-mail me!
|
© Safety Eyes & Ami Manila is owned by Rosanna Z. Romero. All rights reserved.



 RSS Feed